Hello and welcome! It turns out that making your own blog with Github Pages is pretty easy, especially if you take advantage of the great pre-existing blogs and tools made by others (which is what I did; this is made thanks to Beautiful Jekyll). Let’s get started!
Note. I’m assuming you have a Github account before you begin. If not, you can sign up on their website.
1. Fork the Beautiful Jekyll repository
Go to the Beautiful Jekyll repository and click the Fork button:
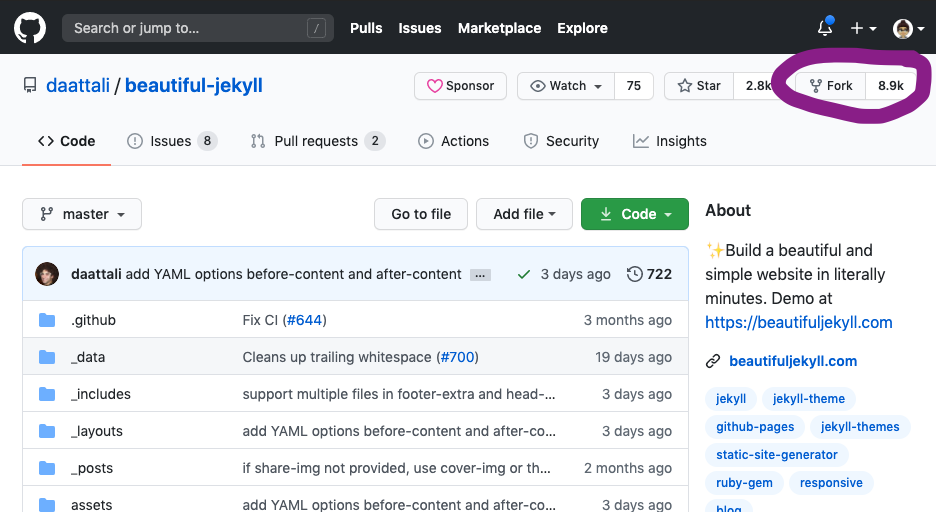
This creates a copy of the repository in your Github account; it should appear as a repository in your own account.
2. Change the repository name to [your Github username].github.io
First, click on the “Settings” button:

Then on that page, change the Repository name (should be the first box you see on the page) to [your Github username].github.io. Github hosts your website at this site for you, so it doesn’t make sense to make it something else here (side note: you can use custom domains, but I won’t get into that here).
3. You now have a site! Customize it.
You can see your site at [your Github username].github.io. You’ll notice that it’s (for now) just the Beautiful Jekyll default, so you probably want to customize it from here. Some things to do:
Change your _config.yml file
This file basically sets up the structure of the website (so, go here to change the title, avatar, social media icon links, etc). It looks a little intimidating at first, but Beautiful Jekyll has very helpfully commented most fields to help you figure out what they’re for.
For example, you might want to change the avatar from the little Github Octocat logo. You’ll notice that the avatar field points to an image in the /assets/img/ directory. If you upload a new image in this directory and change the path to that, your avatar will change too!
Add a post
New posts should be added as Markdown files in the _posts folder. Helpfully, Beautiful Jekyll includes a couple examples that you can use as templates to get started.
Add/change a page
Separate pages from the main blog (by default, these are listed in the navigation bar at the top of the page) are made from Markdown files in the root directory of your repository (for example, see aboutme.md to access and change your “About Me” page. If the file exists already, you can change the page by changing the markdown in the relevant file. To add a new page, create a new markdown file using the same template as pre-existing pages (for example, the “About me” one) and add content from there!
Other things
The Beautiful Jekyll repository’s README page contains a lot of other things you can tweak or change, as well as examples of blogs made with Beautiful Jekyll that you can look at for inspiration. Have fun!
And lastly, here’s my repo for this site.